更迅速且更自信地交付更高质量的应用
自动化 iOS、Android、Windows 和 macOS 应用的生命周期。 连接存储库并在几分钟内在云中生成、测试数千台实际设备、向 beta 测试人员和应用存储进行分发、通过故障数据和分析数据监视实际使用情况。 所有操作都可以在一个位置集中执行。
几分钟内即可完成持续集成
更频繁、更迅速地生成应用
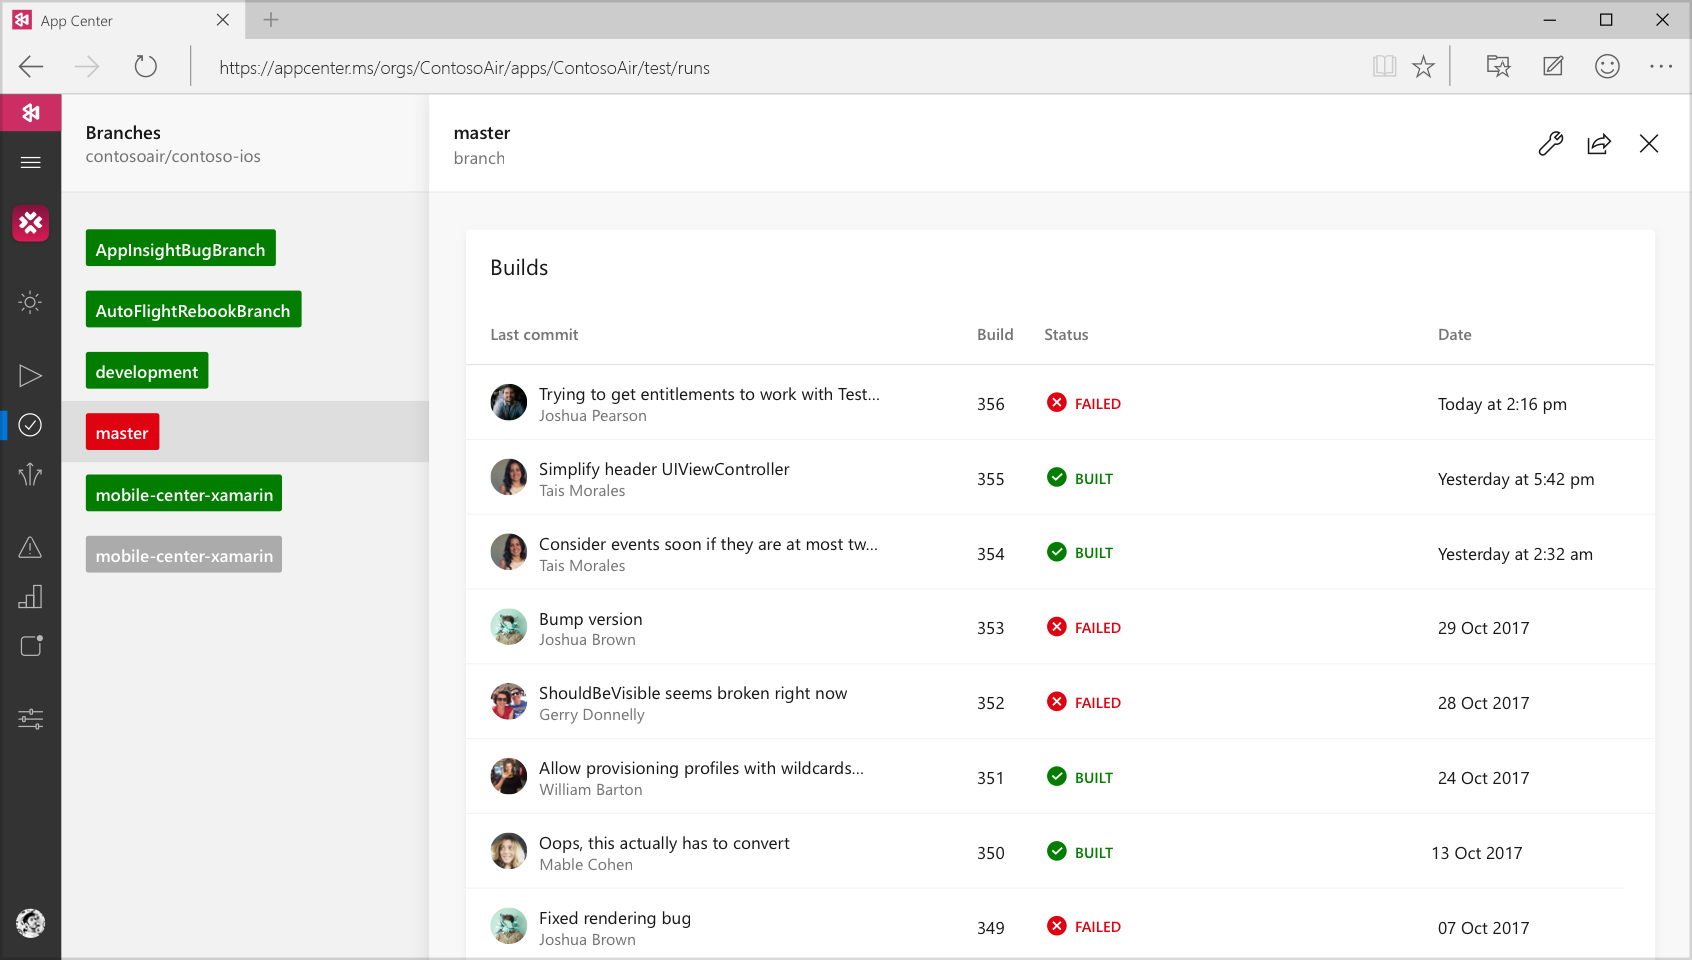
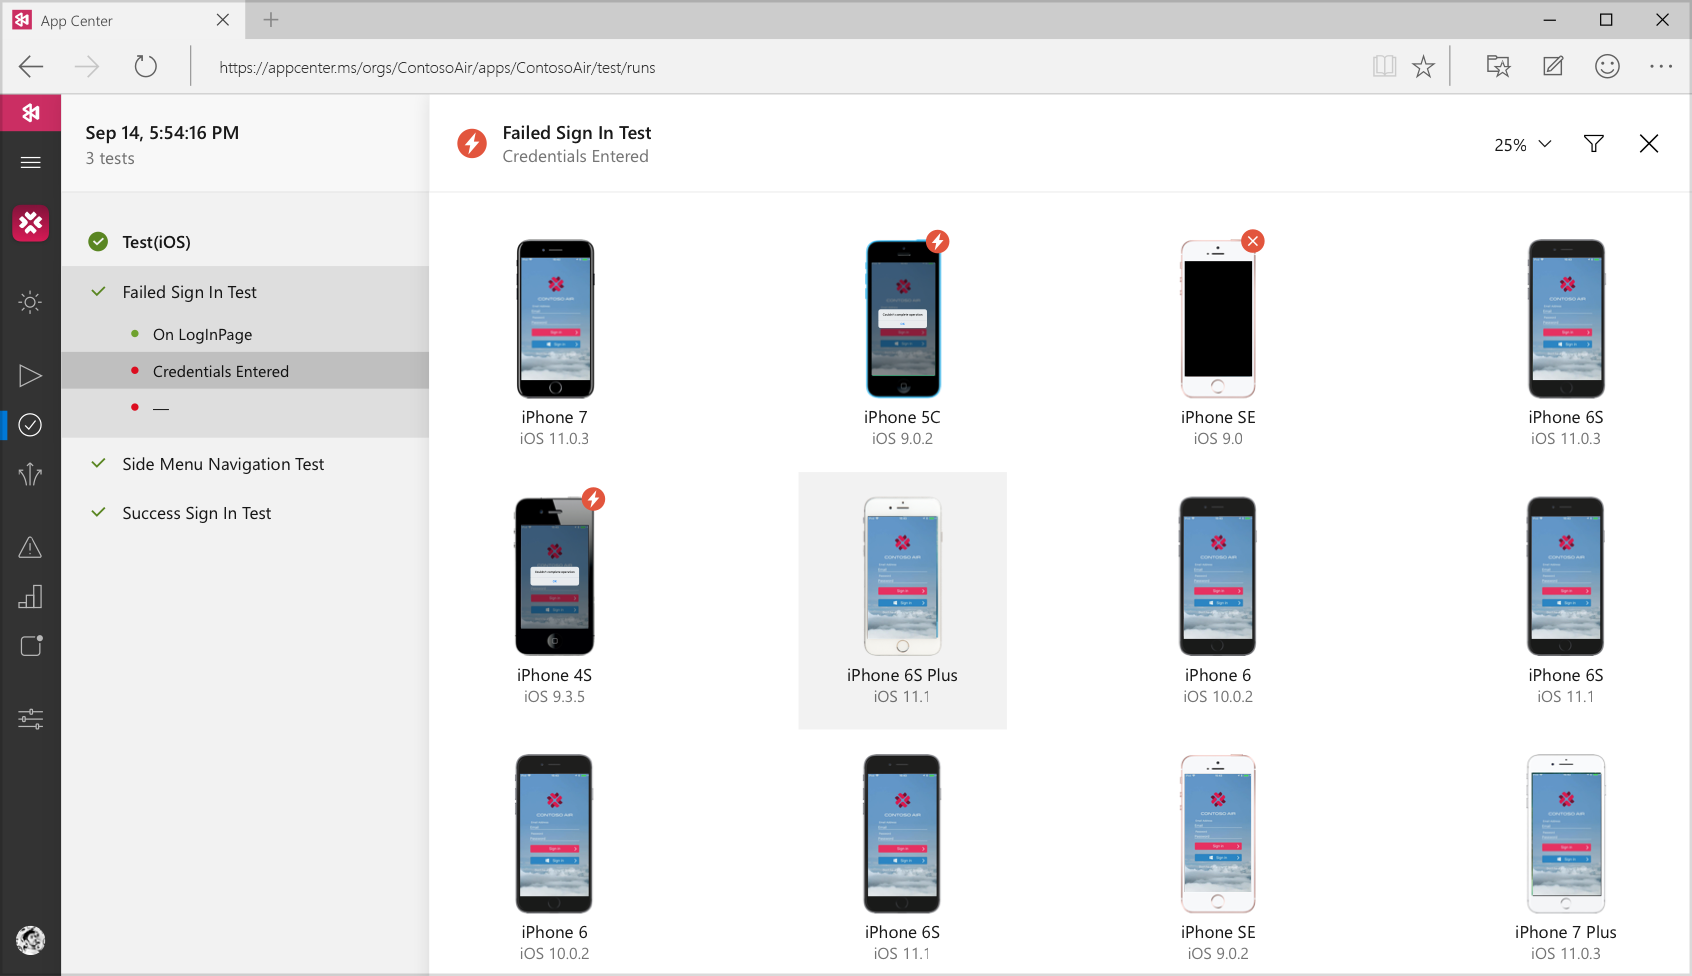
在实际设备上持续改进质量
自信地交付更高质量的应用
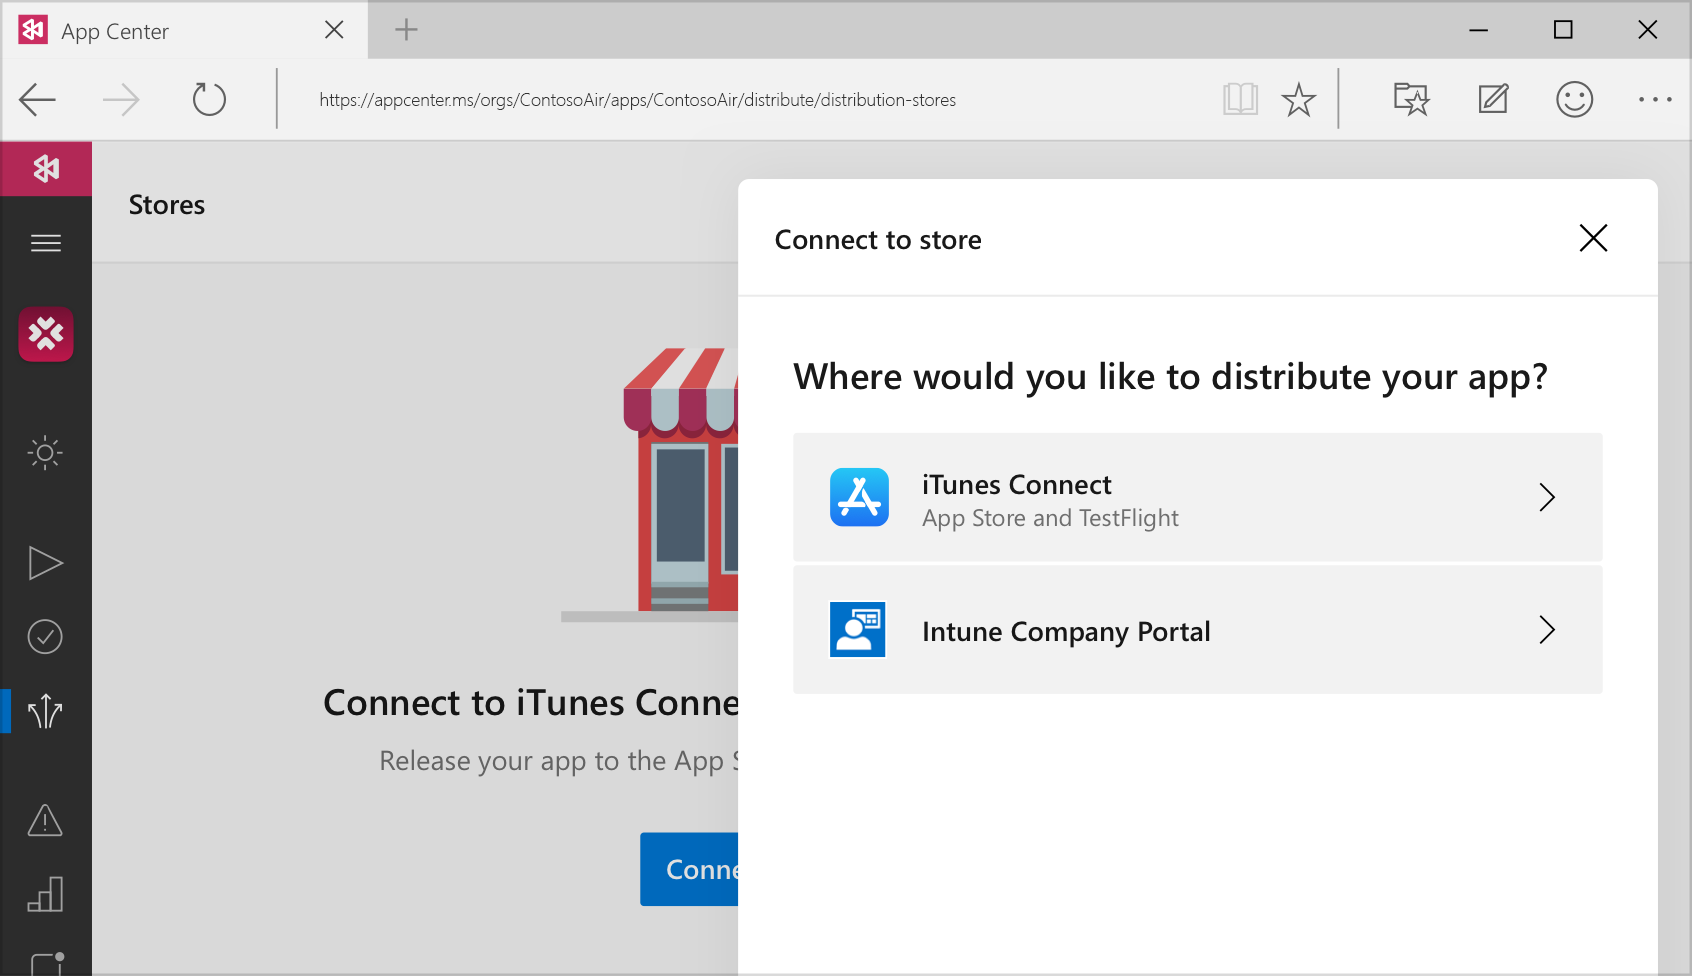
实现持续交付
可轻松地随地部署
持续学习,不断成长
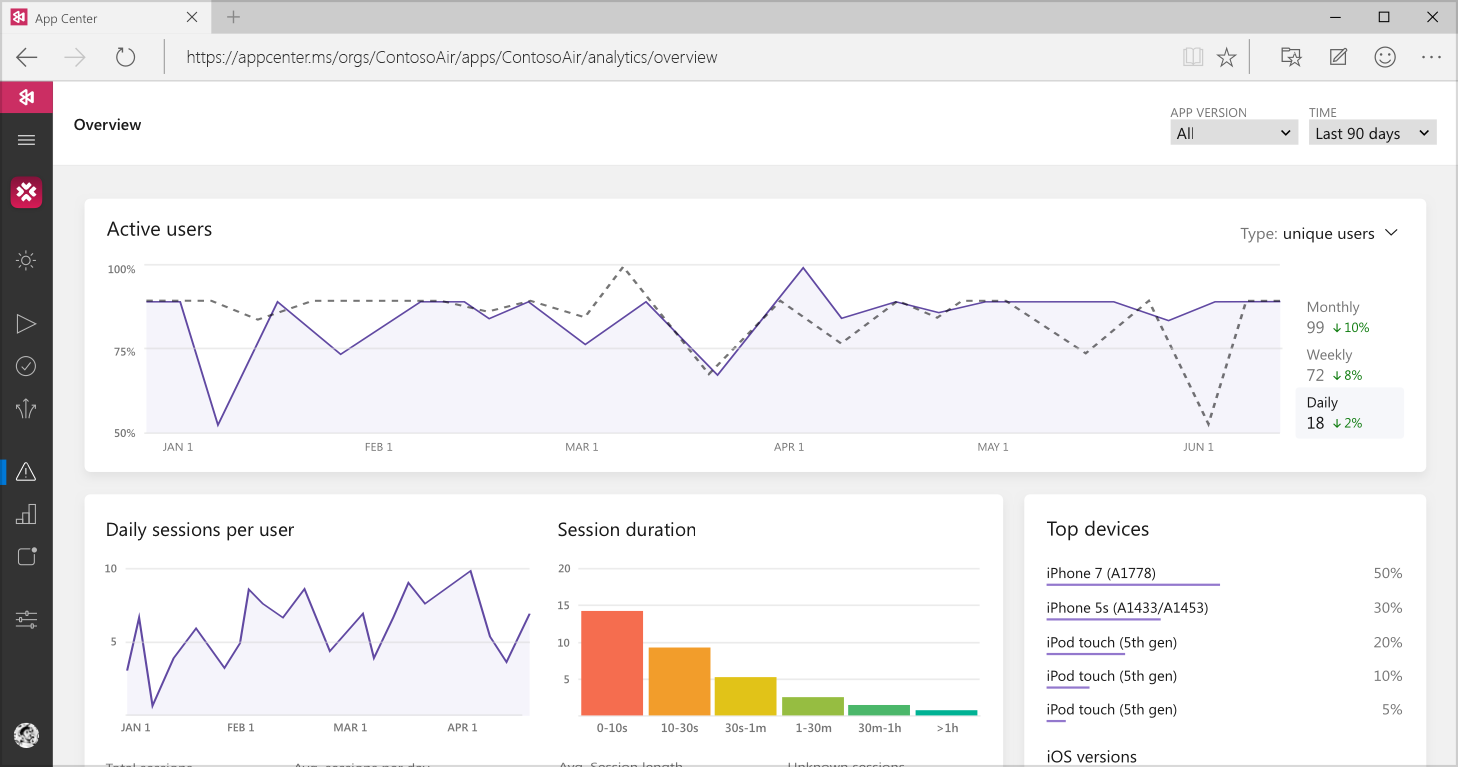
富有见解的故障报告
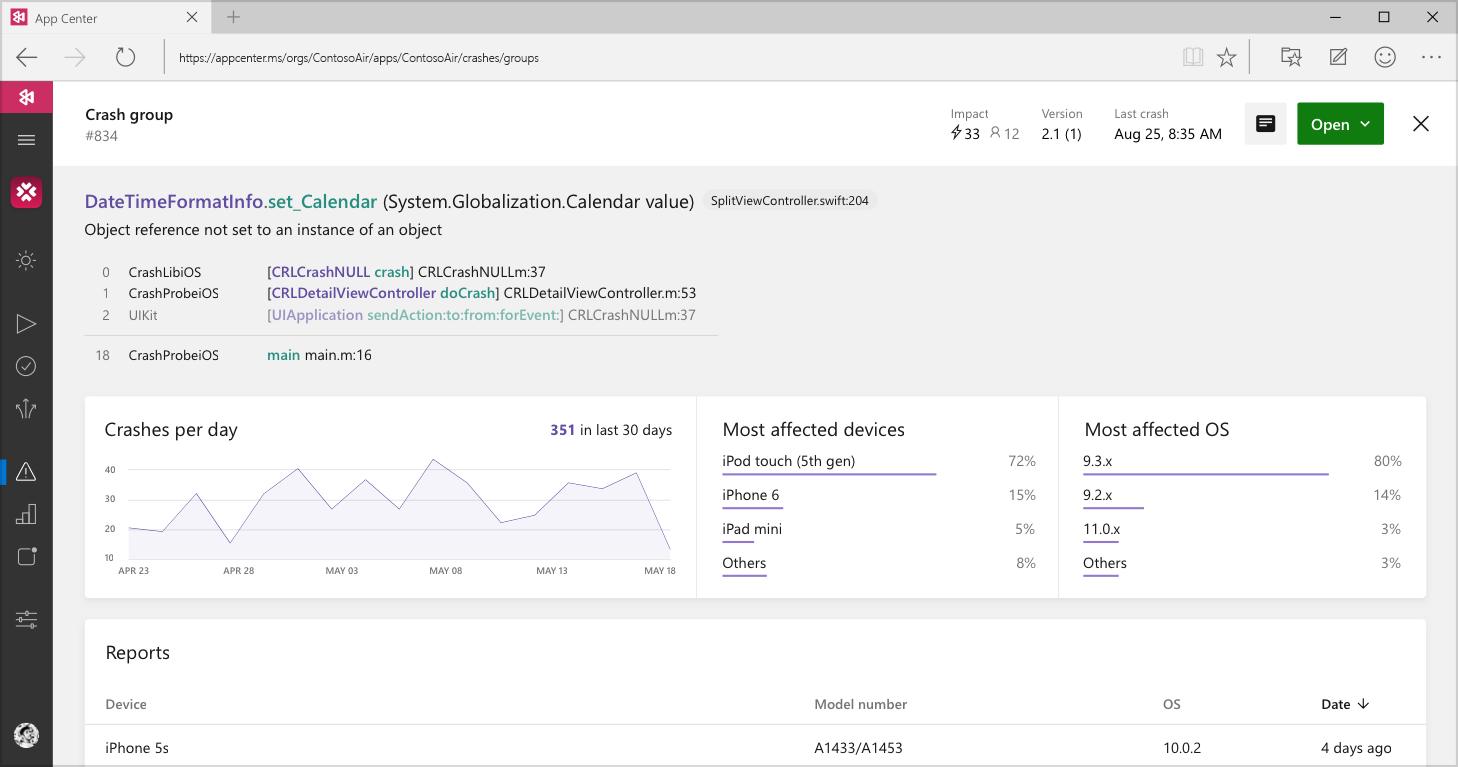
实时分析
灵活性和选择
仅选择所需的 App Center 服务
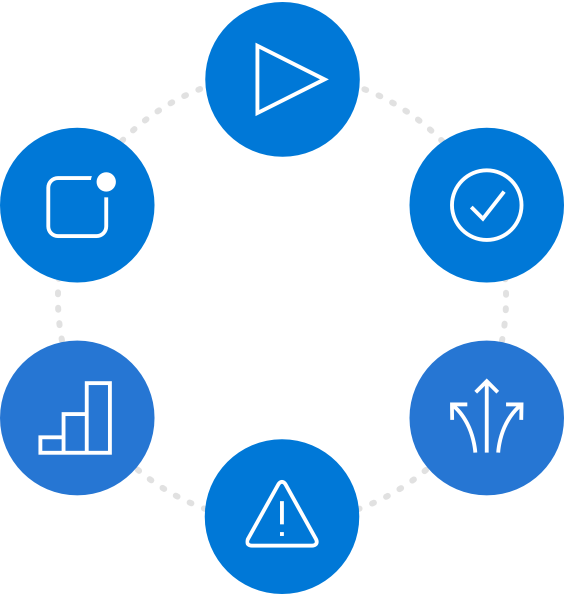
将 iOS、Android、Windows 和 macOS 的应用开发生命周期自动化
1.使用 CocoaPods 集成
如果尚未安装,请通过 正在下载应用 或在终端中运行此命令来安装 CocoaPods:
$ sudo gem install cocoapods如果尚未使用 CocoaPods,请在应用的根目录中运行pod init
创建 Podfile。
将以下内容添加到 Podfile,以便在应用中包括所有应用中心服务:
pod ‘AppCenter’保存文件并在终端中运行以下命令:
$ pod install打开.xcworkspace
文件。
2.启动 SDK
打开AppDelegate.swift
文件并将以下行添加到自己导入语句的下方。
import AppCenter
import AppCenterAnalytics
import AppCenterCrashes在同一文件中,将以下内容添加到didFinishLaunchingWithOptions
委托方法。
MSAppCenter.start(“2b17e7b3-f7d8-4f72-8245-48d873b9ed6e”, withServices:[
MSAnalytics.self,
MSCrashes.self
])1.使用 CocoaPods 集成
如果尚未安装,请通过 正在下载应用 或在终端中运行此命令来安装 CocoaPods:
$ sudo gem install cocoapods如果尚未使用 CocoaPods,请在应用的根目录中运行pod init
创建 Podfile。
将以下内容添加到 Podfile,以便在应用中包括所有应用中心服务:
pod ‘AppCenter’保存文件并在终端中运行以下命令:
$ pod install打开.xcworkspace
文件。
2.启动 SDK
打开AppDelegate.m
文件并将以下行添加到自己导入语句的下方。
@import AppCenter;
@import AppCenterAnalytics;
@import AppCenterCrashes;在同一文件中,将以下内容添加到didFinishLaunchingWithOptions
委托方法。
[MSAppCenter start:@”2b17e7b3-f7d8-4f72-8245-48d873b9ed6e” withServices:@[MSAnalytics class],[MSCrashes class]
];1.将 SDK 添加到项目
在app/build.gradle
文件中,添加以下行:
dependencies {
def AppCenterSdkVersion = ‘1.0.0’
compile “com.microsoft.appcenter:appcenter-analytics:${appCenterSdkVersion}”
compile “com.microsoft.appcenter:appcenter-crashes:${appCenterSdkVersion}”
}
2.启动 SDK
打开应用的主活动类,并添加以下导入语句。
import com.microsoft.appcenter.AppCenter;
import com.microsoft.appcenter.analytics.Analytics;
import com.microsoft.appcenter.crashes.Crashes;查找onCreate
回叫,并添加以下内容。
AppCenter.start(getApplication(), “0dbacd70-10a8-4ba3-b13b-44eb2125d559”,
Analytics.class, Crashes.class);1.将 NuGet 包添加到解决方案
搜索App Center
并在结果中查找以下包:
• 如果使用的是 Mac,请选择App Center Analytics
,App Center Crashes
并添加这两个包。
• 如果使用的是 Windows,请安装Microsoft.AppCenter.Analytics
和Microsoft.AppCenter.Crashes
包。
如果在可移植项目中使用应用中心 SDK,则需要在可移植项目和 iOS 项目中安装这些包。
2.启动 SDK
在应用的AppDelegate.cs
,添加以下using
声明。
using Microsoft.AppCenter;
using Microsoft.AppCenter.Analytics;
using Microsoft.AppCenter.Crashes;在同一文件中,将以下内容添加到FinishedLaunching()
方法。
AppCenter.Start(“8abff201-dc8e-4068-b0d0-15b80d46b181”,
typeof(Analytics), typeof(Crashes));1.将 SDK 添加到项目
在 React Native 项目的根目录下打开的终端窗口中,输入以下行,将故障和分析服务添加到应用中:
$ npm install appcenter appcenter-analytics appcenter-crashes –save2.链接 SDK
使用 react-native link 命令将插件链接到 React Native 应用。 此命令可链接已安装的所有 React Native 插件。
$ react-native linkSDK 将要求提供每个平台的应用机密,该机密在应用中心中分配。 机密可能已预先填充,显示在问题旁边。 如果预先填充的机密正确无误,请按 Enter 键继续。
What is the Android app secret? 49deeb18-5fcc-4bf9-b5b0-1cb3aa5bd5e3
What is the iOS app secret? (From corresponding iOS app in App Center)
SDK 将进一步询问是否自动发送故障报告和用户事件,我们建议选择自动发送,以便轻松地进行设置。 如果选择退出,则可以更好地控制用户隐私。

 Visual Studio Code


