
Visual Studio App Center
Integrated developer services for building, testing, releasing, and monitoring mobile and desktop apps
Ship higher-quality apps faster and with more confidence
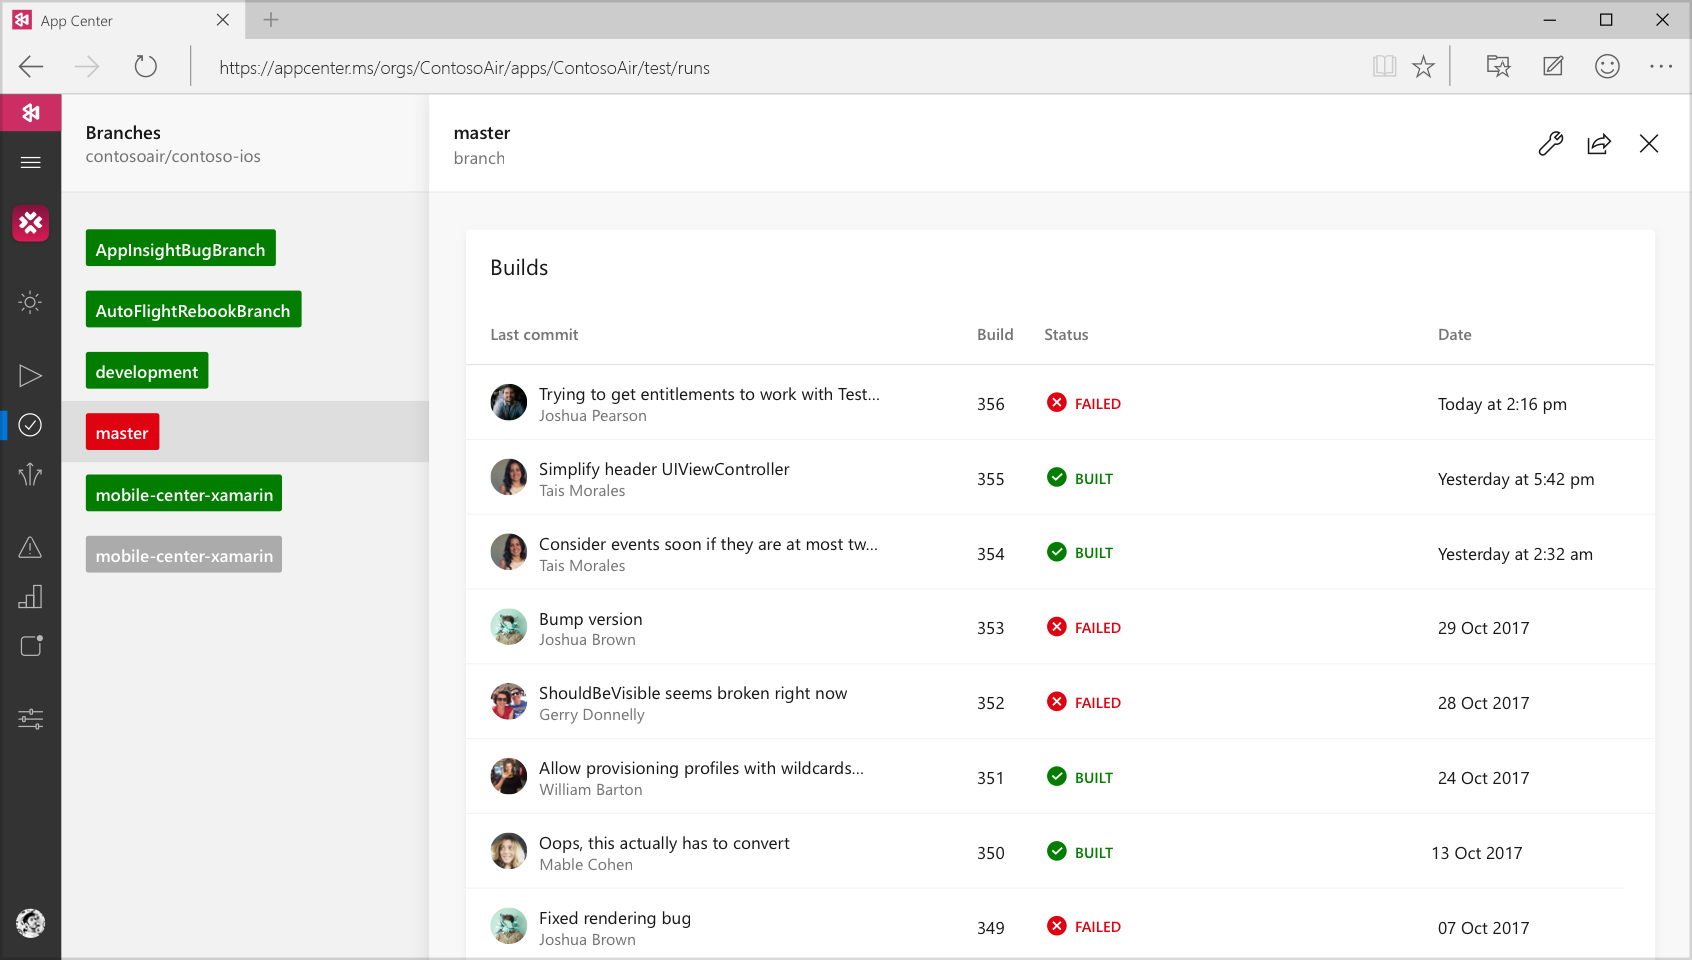
Automate the lifecycle of your iOS, Android, Windows, and macOS apps. Connect your repo and within minutes build in the cloud, test on thousands of real devices, distribute to beta testers and app stores, and monitor real-world usage with crash and analytics data. All in one place.
Continuous integration in minutes
Build apps more frequently, faster
Continuous quality on real devices
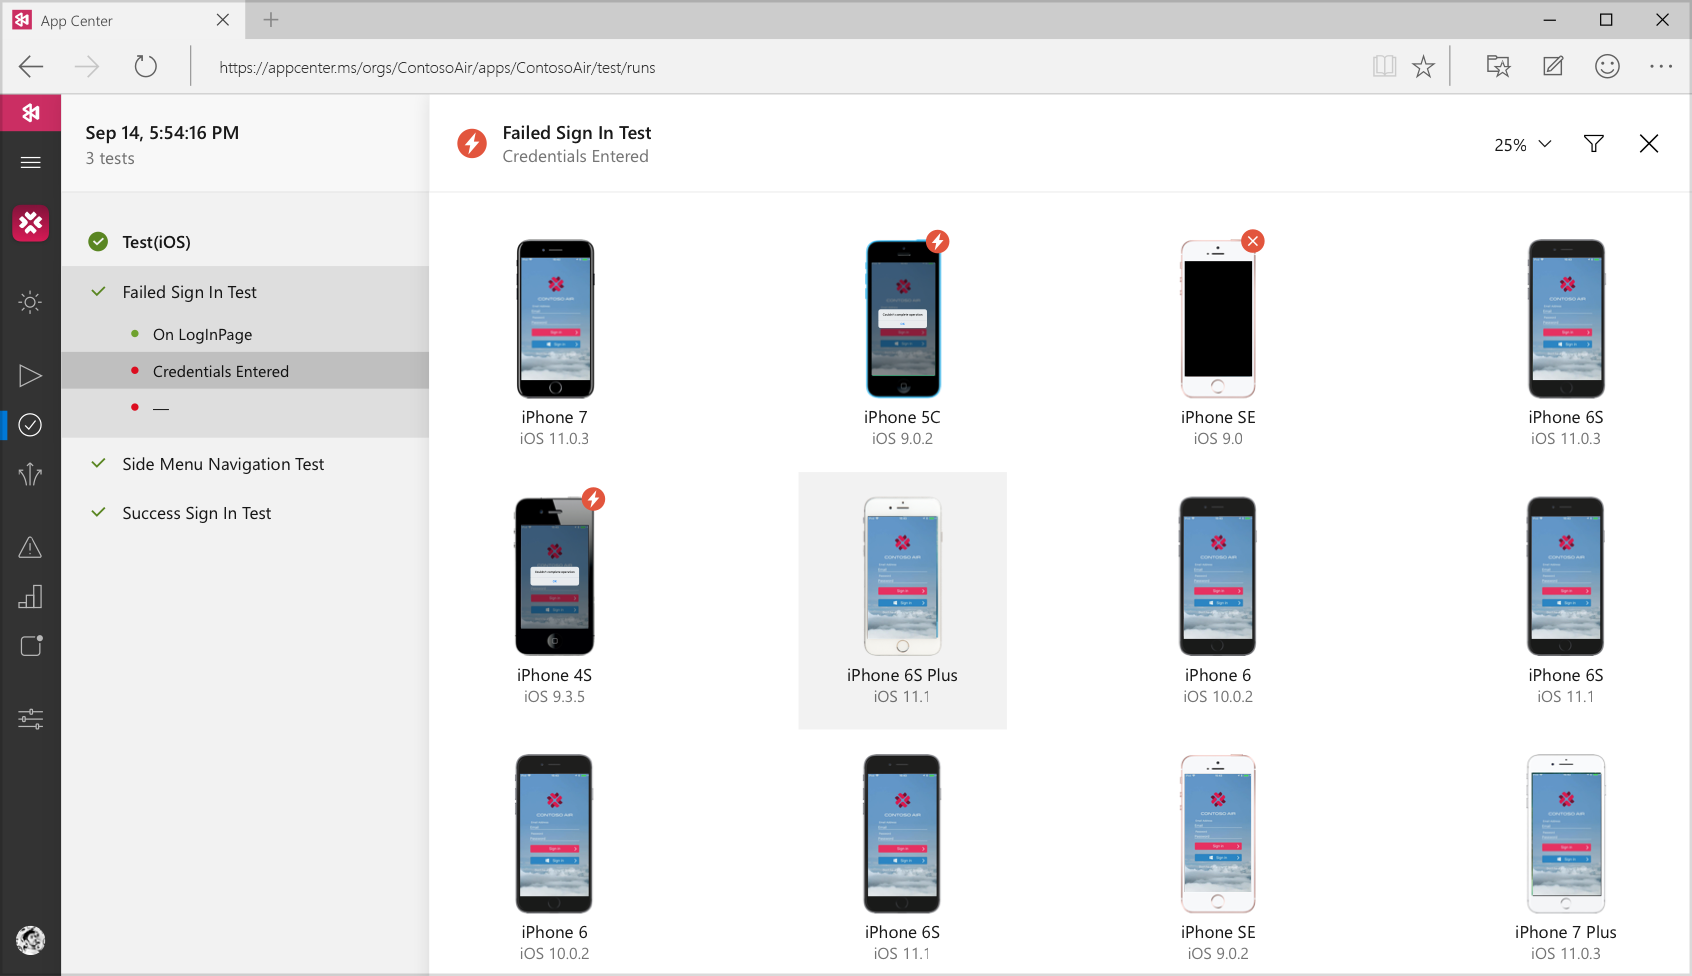
Ship higher-quality apps with confidence
Automate UI tests on thousands of real-world devices and hundreds of configurations in the cloud, using popular frameworks such as Appium, Espresso, and XCUITest. Test every UI interaction your users can do, and diagnose bugs and performance problems every time you build, with detailed step-by-step tracking reports, screenshots, and logs.
Continuous delivery that works
Deploy everywhere with ease
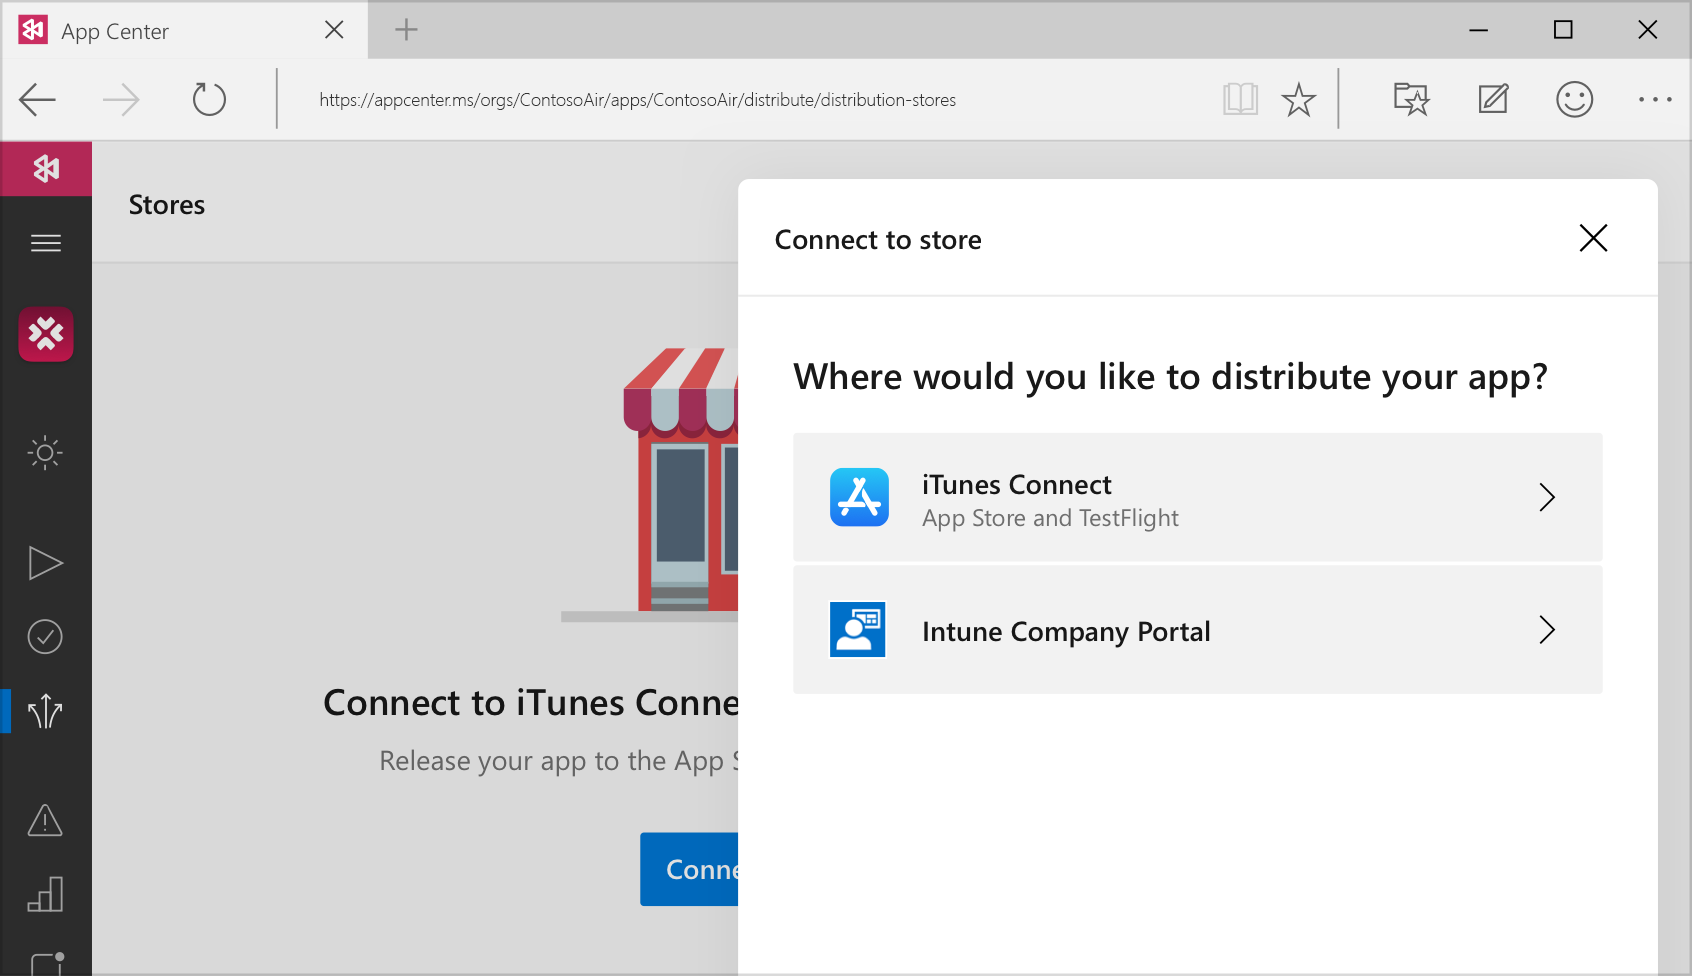
Distribute your app to beta testers and users on Android, iOS, Windows, and macOS with every commit or on demand. Send different builds to different groups of testers and notify them via in-app updates. When ready, release to Apple’s App Store, Google Play, and to Microsoft Intune.
Continuous learning for growth
Insightful crash reports
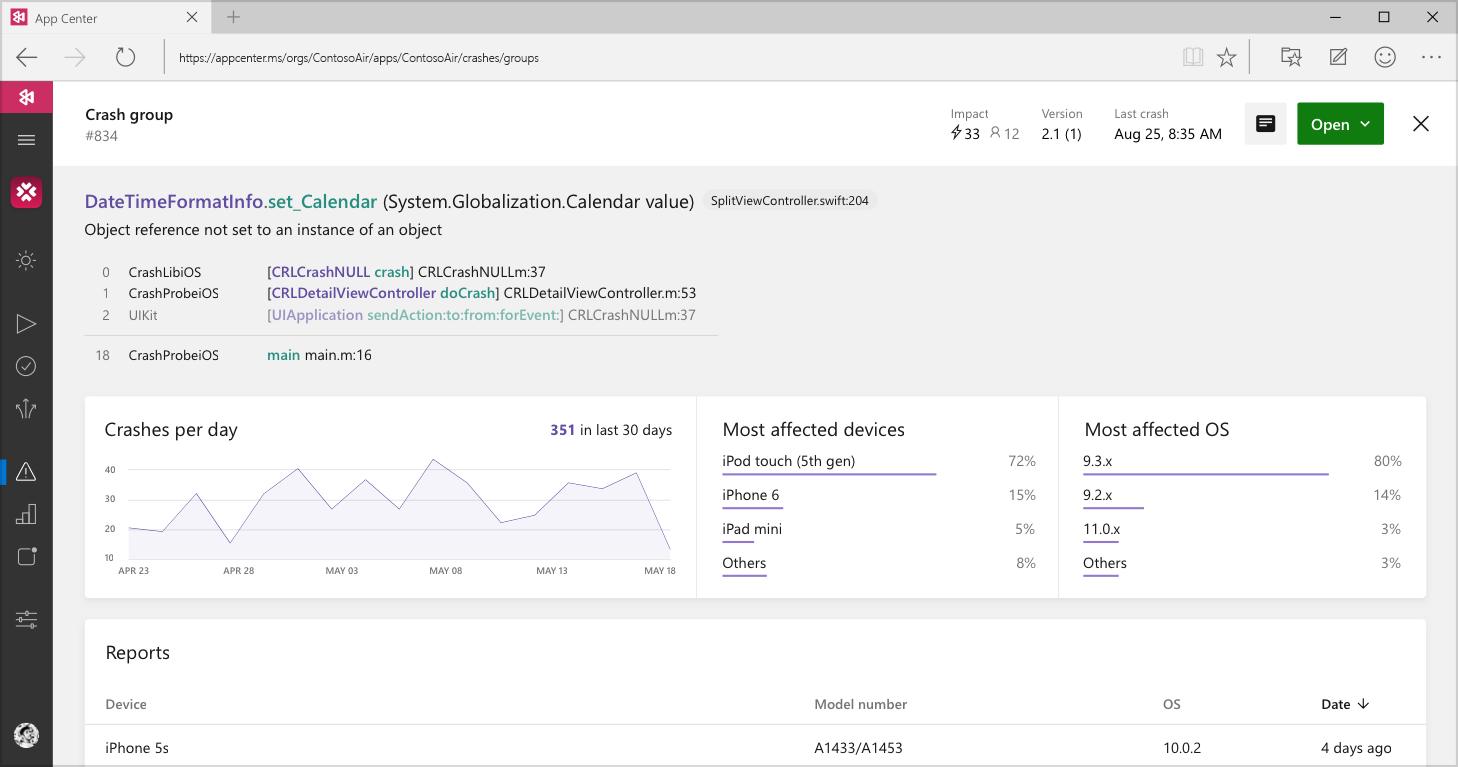
Monitor the health of your app with advanced capabilities such as intelligent crash grouping and management, faster debugging with symbolication, and detailed crash reports. Get notified and fix issues as they come up.
Real-time analytics
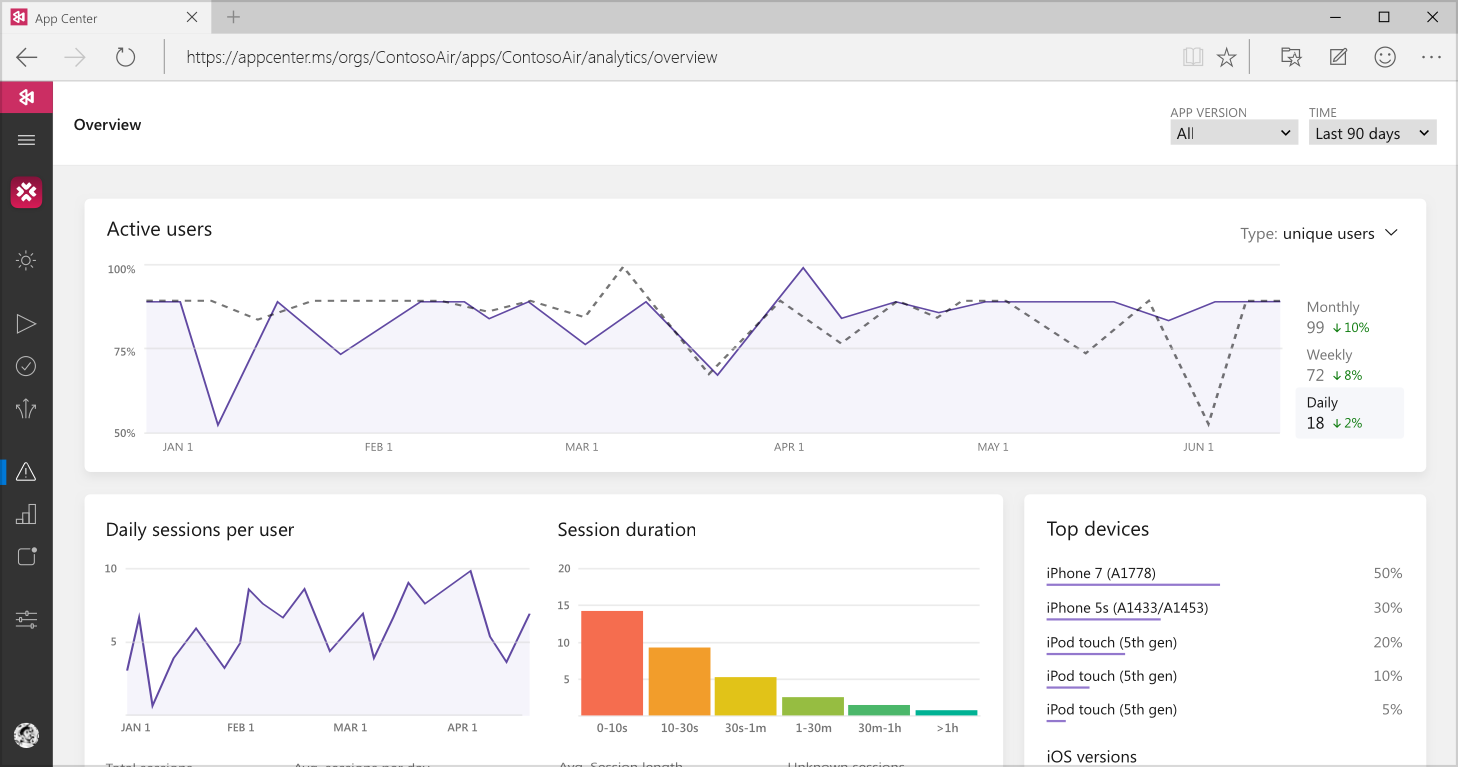
Grow your audience by focusing on what’s important with deep insights about user sessions, top devices, OS versions, behavioral analytics and event trackers for your iOS, Android, Windows, and macOS apps. Easily create custom events to track anything.
Flexibility & choice
Choose only the App Center services you need
Have your own analytics solution? Using a different beta distribution platform? No problem. Our open-sourced SDKs and APIs let you integrate just the services of App Center you need.
Automate the app development lifecycle for iOS, Android, Windows, and macOS
1. Integrate using CocoaPods
If you haven’t already, install CocoaPods by downloading the app or by running this command in a terminal:
$ sudo gem install cocoapodsShould you not already be using CocoaPods, create a Podfile by running pod init in your app’s root directory.
Add the following to your Podfile to include all App Center services in your app:
pod ‘AppCenter’Save the file and run this command in the terminal:
$ pod installOpen the .xcworkspace file for your app.
2. Start the SDK
Open AppDelegate.swift file and add the following lines below your own import statements.
import AppCenter
import AppCenterAnalytics
import AppCenterCrashes
In the same file, add the following in your didFinishLaunchingWithOptions delegate method.
MSAppCenter.start(“2b17e7b3-f7d8-4f72-8245-48d873b9ed6e”, withServices:[
MSAnalytics.self,
MSCrashes.self
])1. Integrate using CocoaPods
If you haven’t already, install CocoaPods by downloading the app or by running this command in a terminal:
$ sudo gem install cocoapodsShould you not already be using CocoaPods, create a Podfile by running pod init in your app’s root directory.
Add the following to your Podfile to include all App Center services in your app:
pod ‘AppCenter’Save the file and run this command in the terminal:
$ pod installOpen the .xcworkspace file for your app.
2. Start the SDK
Open AppDelegate.m file and add the following lines below your own import statements.
@import AppCenter;
@import AppCenterAnalytics;
@import AppCenterCrashes;
In the same file, add the following in your didFinishLaunchingWithOptions delegate method.
[MSAppCenter start:@”2b17e7b3-f7d8-4f72-8245-48d873b9ed6e” withServices:@[MSAnalytics class],[MSCrashes class]
];1. Add the SDK to the project
In your app/build.gradle file add the following lines:
dependencies {
def AppCenterSdkVersion = ‘1.0.0’
compile “com.microsoft.appcenter:appcenter-analytics:${appCenterSdkVersion}”
compile “com.microsoft.appcenter:appcenter-crashes:${appCenterSdkVersion}”
}
2. Start the SDK
Open your app’s main activity class and add the following import statements.
import com.microsoft.appcenter.AppCenter;
import com.microsoft.appcenter.analytics.Analytics;
import com.microsoft.appcenter.crashes.Crashes;
Look for onCreate callback in the same file and add the following.
AppCenter.start(getApplication(), “0dbacd70-10a8-4ba3-b13b-44eb2125d559”,
Analytics.class, Crashes.class);1. Add the SDK to the project
In a terminal window opened at the root of a React Native project, enter the following line to add Crash and Analytics services to your app:
$ npm install appcenter appcenter-analytics appcenter-crashes –save2. Link the SDK
Link the plugins to the React Native app using the react-native link command. This command links all React Native plugins that are installed.
$ react-native linkThe SDK will ask for the app secret per platform, which is assigned in App Center. The secret may already be pre-populated, showing up beside the question. If the pre-filled secret is correct, press enter to continue.
What is the Android app secret? 49deeb18-5fcc-4bf9-b5b0-1cb3aa5bd5e3
What is the iOS app secret? (From corresponding iOS app in App Center)
The SDK will further ask whether or not to send crash reports and user events automatically, which we recommend you do for easy setup. Opt out for greater control over user privacy.

 Visual Studio Code


